Clean Up
3D Printed Parts
Deburring Parts
Starting you will need to debur the edges of the shell, inside:
- Screen frame
- Button holes
- Analogue stick holes
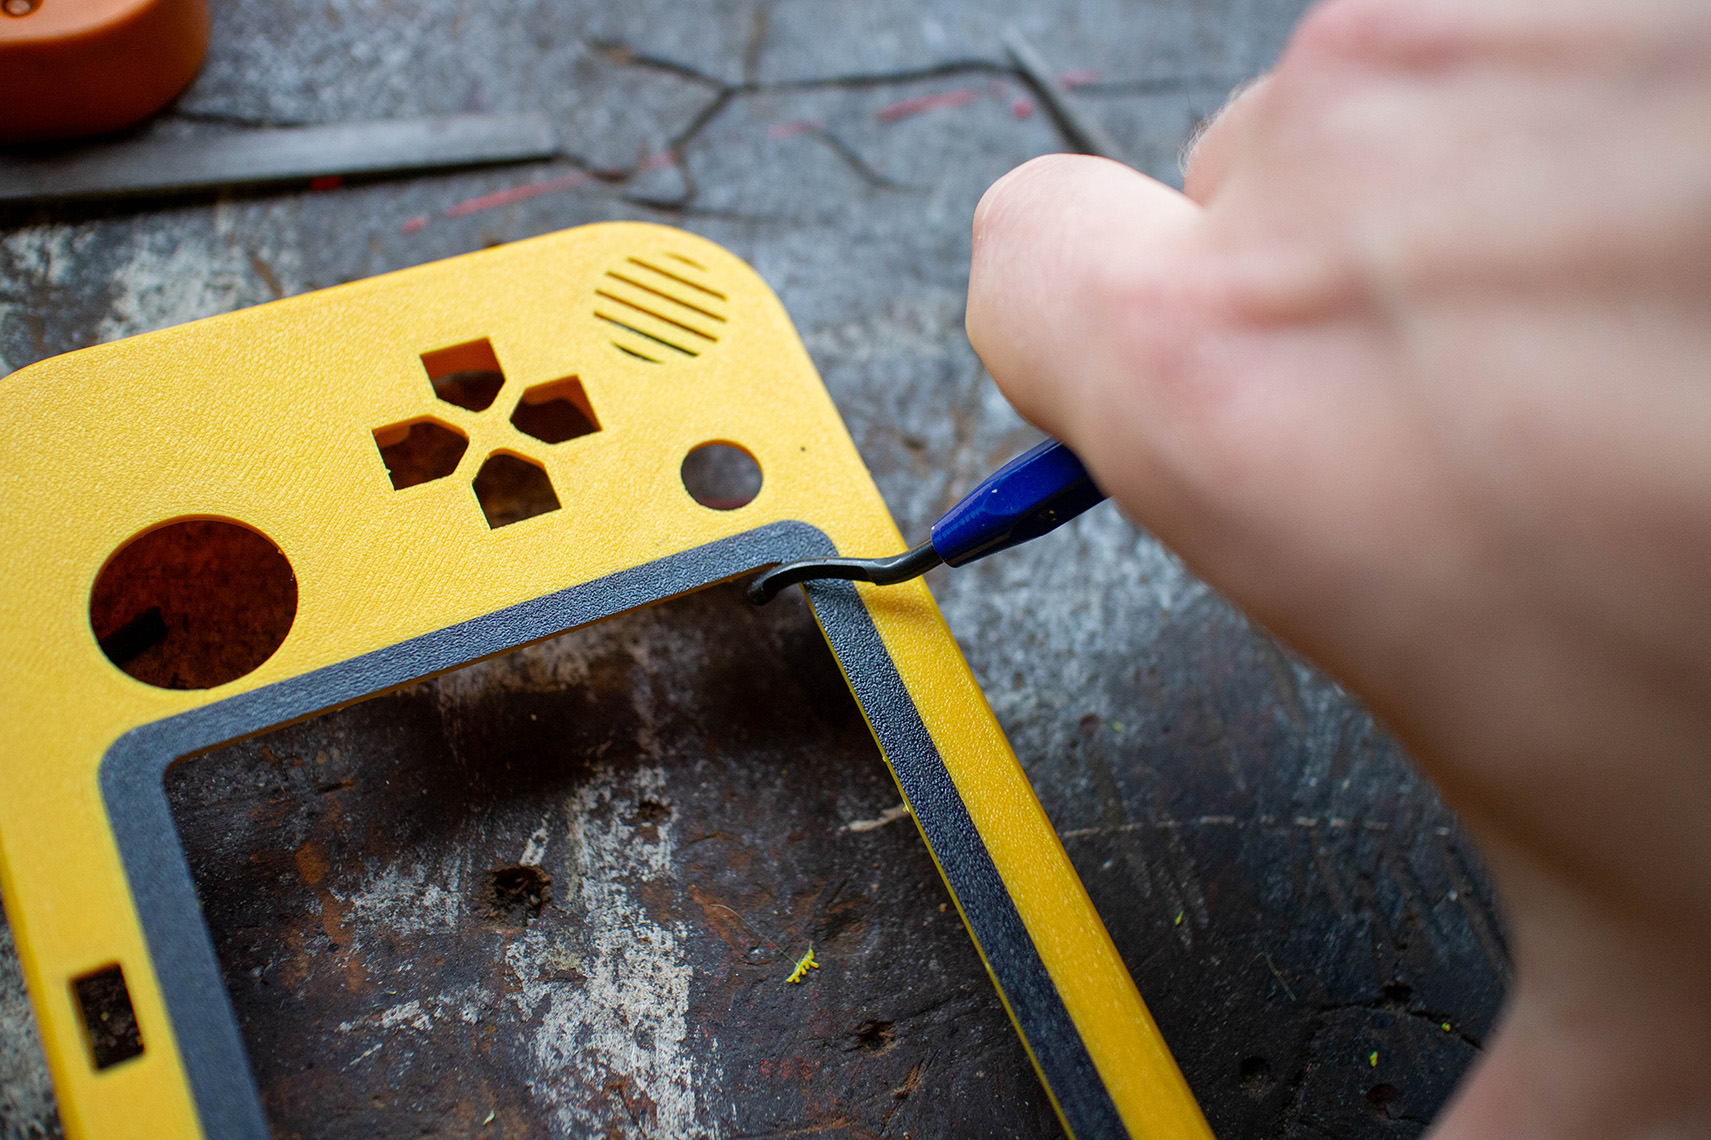
Using your deburring tool, no need to apply too much pressure.
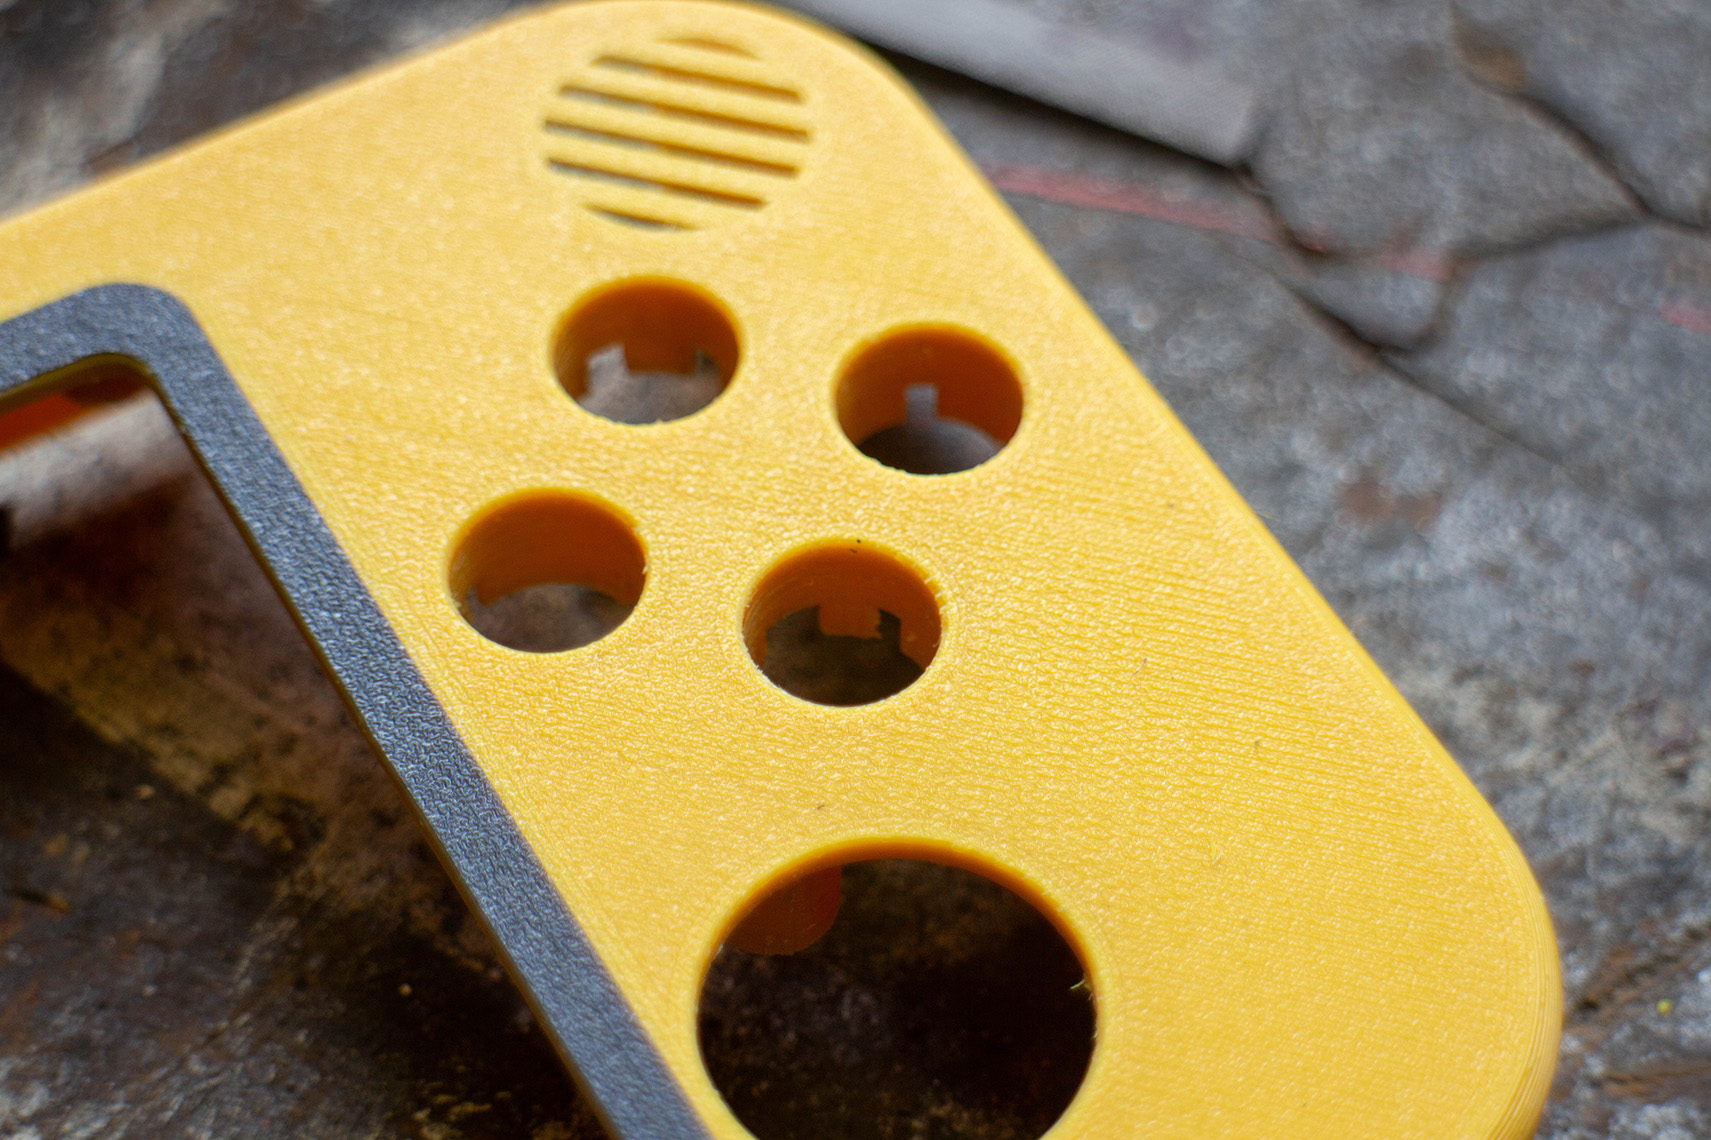
The buttons should slide up and down freely.
Installing Threaded Inserts
Once that’s done we can start the satisfying process of installing the threaded inserts into the front shell. If plastic oozes around the insert, carefully drill the hole out to match the diameter of the insert, this is important as the oozed plastic interferes with tolerances.
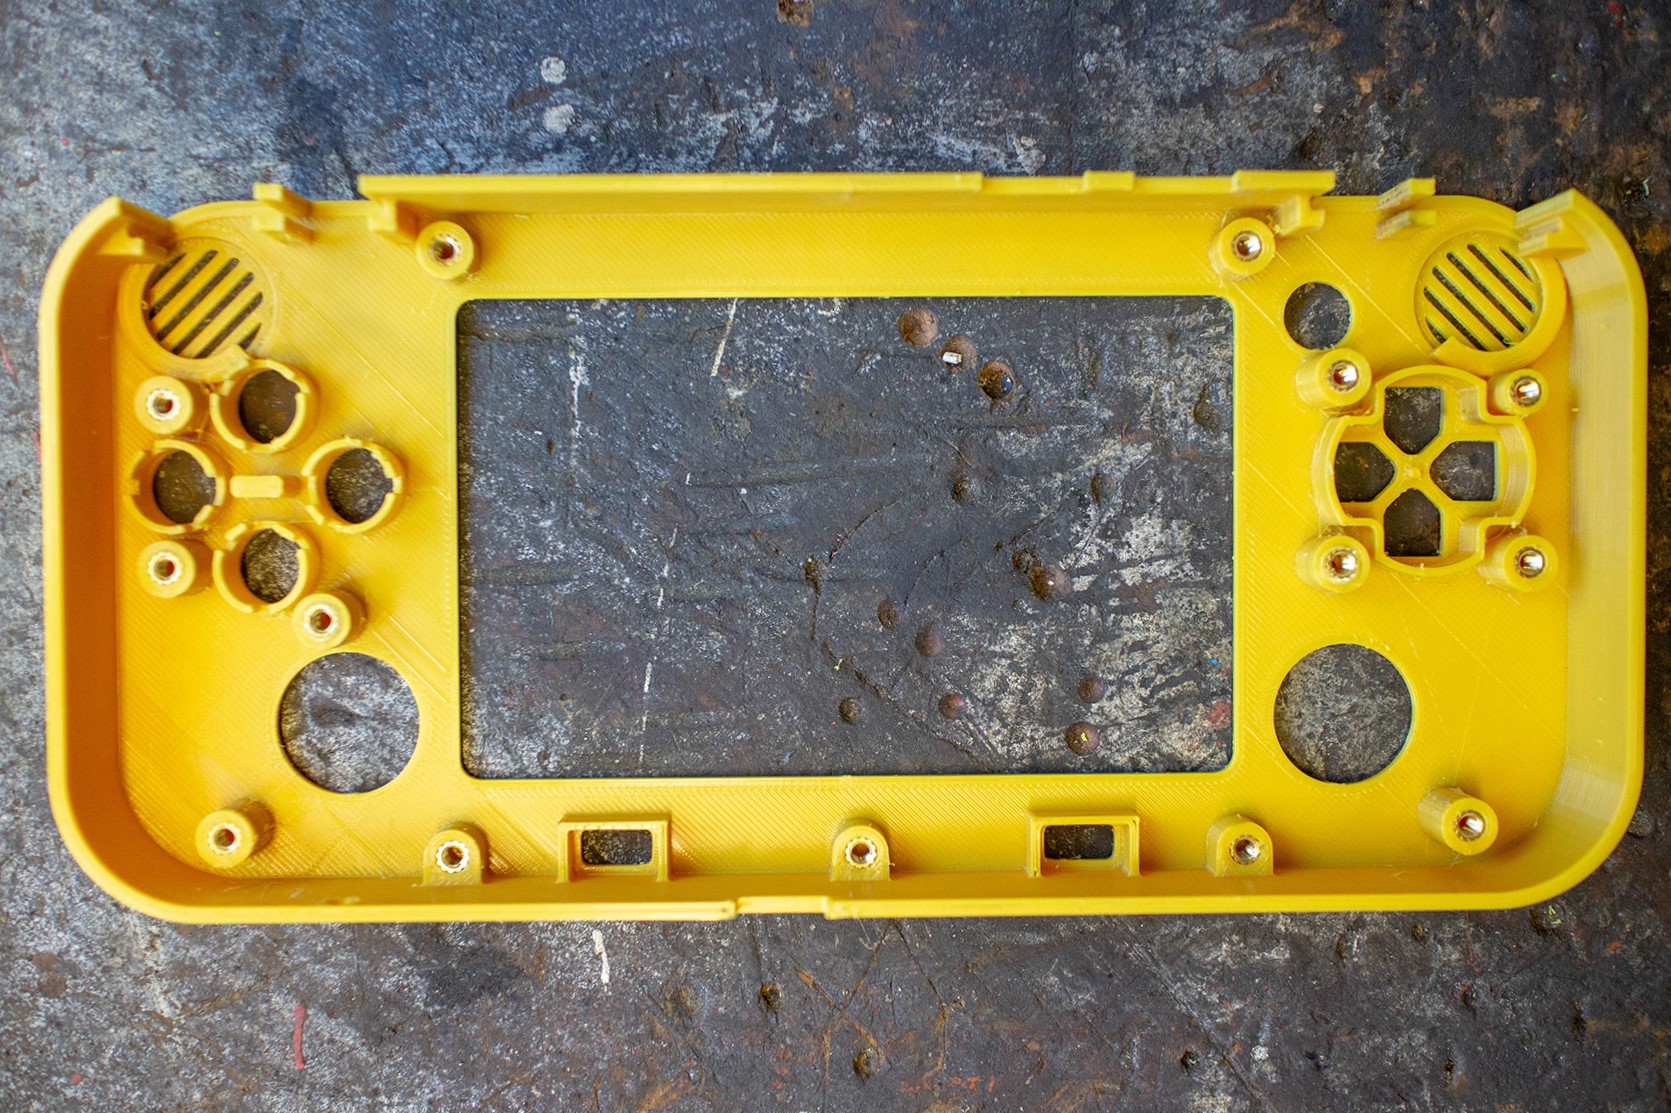
M3 threaded inserts.
Using a soldering iron to press them in.
Main component Mount
Using M2.5 threaded inserts, press them into the holes as seen in the image below.
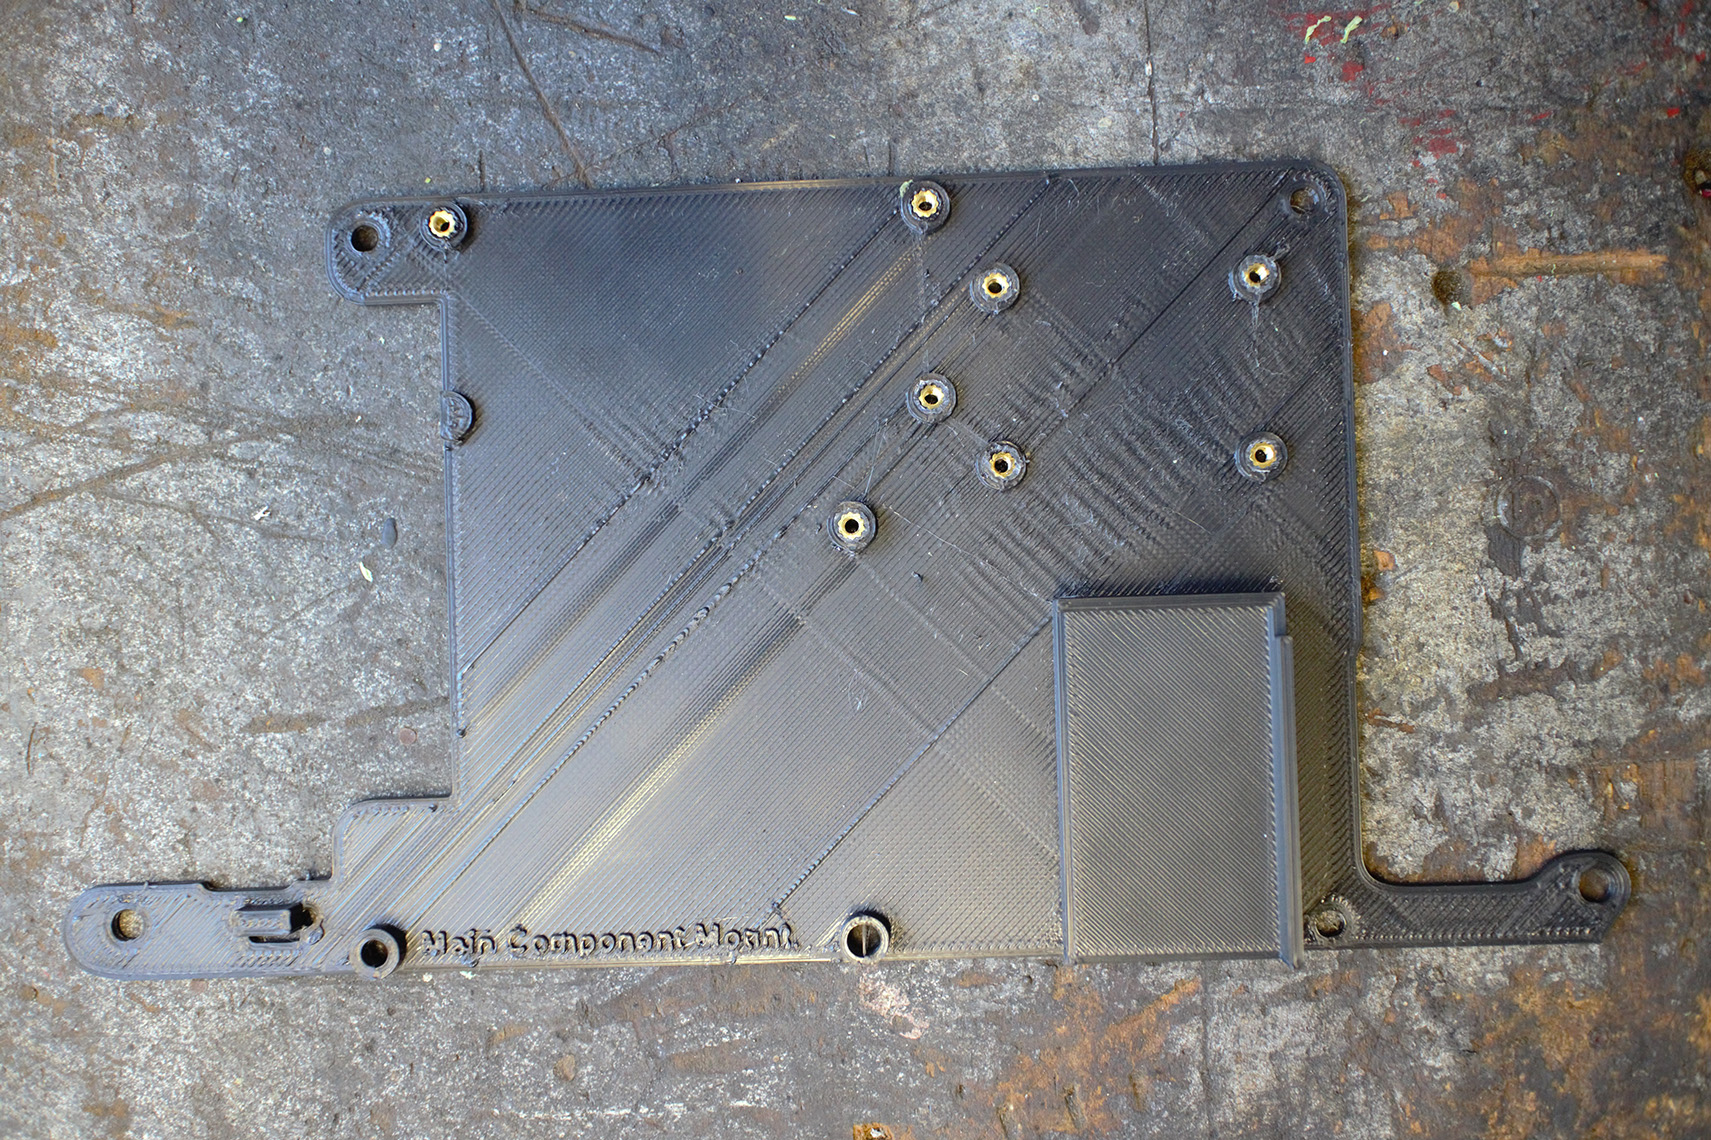
M2.5 threaded inserts on main component mount.
If you get some plastic ooze out the side of the inserts, you can trim it off (CUT AWAY FROM YOURSELF) or use a file to take it down.
Standoff Install
Glue on component mount spacers.