Part Assembly
Switch Install
Now we will be getting all our 3d printed parts ready to install into the handheld, there will be a small amount of wiring to start with as these terminals get hidden behind parts so get your soldering iron ready!
Drill Out Holes
Unfortunately the holes for the tactile switch are too small for the printer to handle so we have to drill them out. Using a 1mm drill bit, drill out all 4 holes on each tactile switch mount on parts:
- Button Mount | ID: 3
- Arrow Button Mount | ID 4
To make sure all the tolerances in the buttons are kept, just make sure you take off any high burrs from drilling the holes, you can easily scrape it off gently with your small flat head screw driver.
Tactile Switch Install
On our button mounts, we will now install the tactile switches.
The switches we will be using here are: SPST Micro Tactile Switch - 0.7mm
Carefully align the 4 pins with the holes, it’s not a perfect square so make sure you have it in the right orientation. Ensure the pins are lined up with the holes and press it in. Do this for both button mounts.
Bend down 2 tabs diagonally on each switch with the flathead screwdriver.
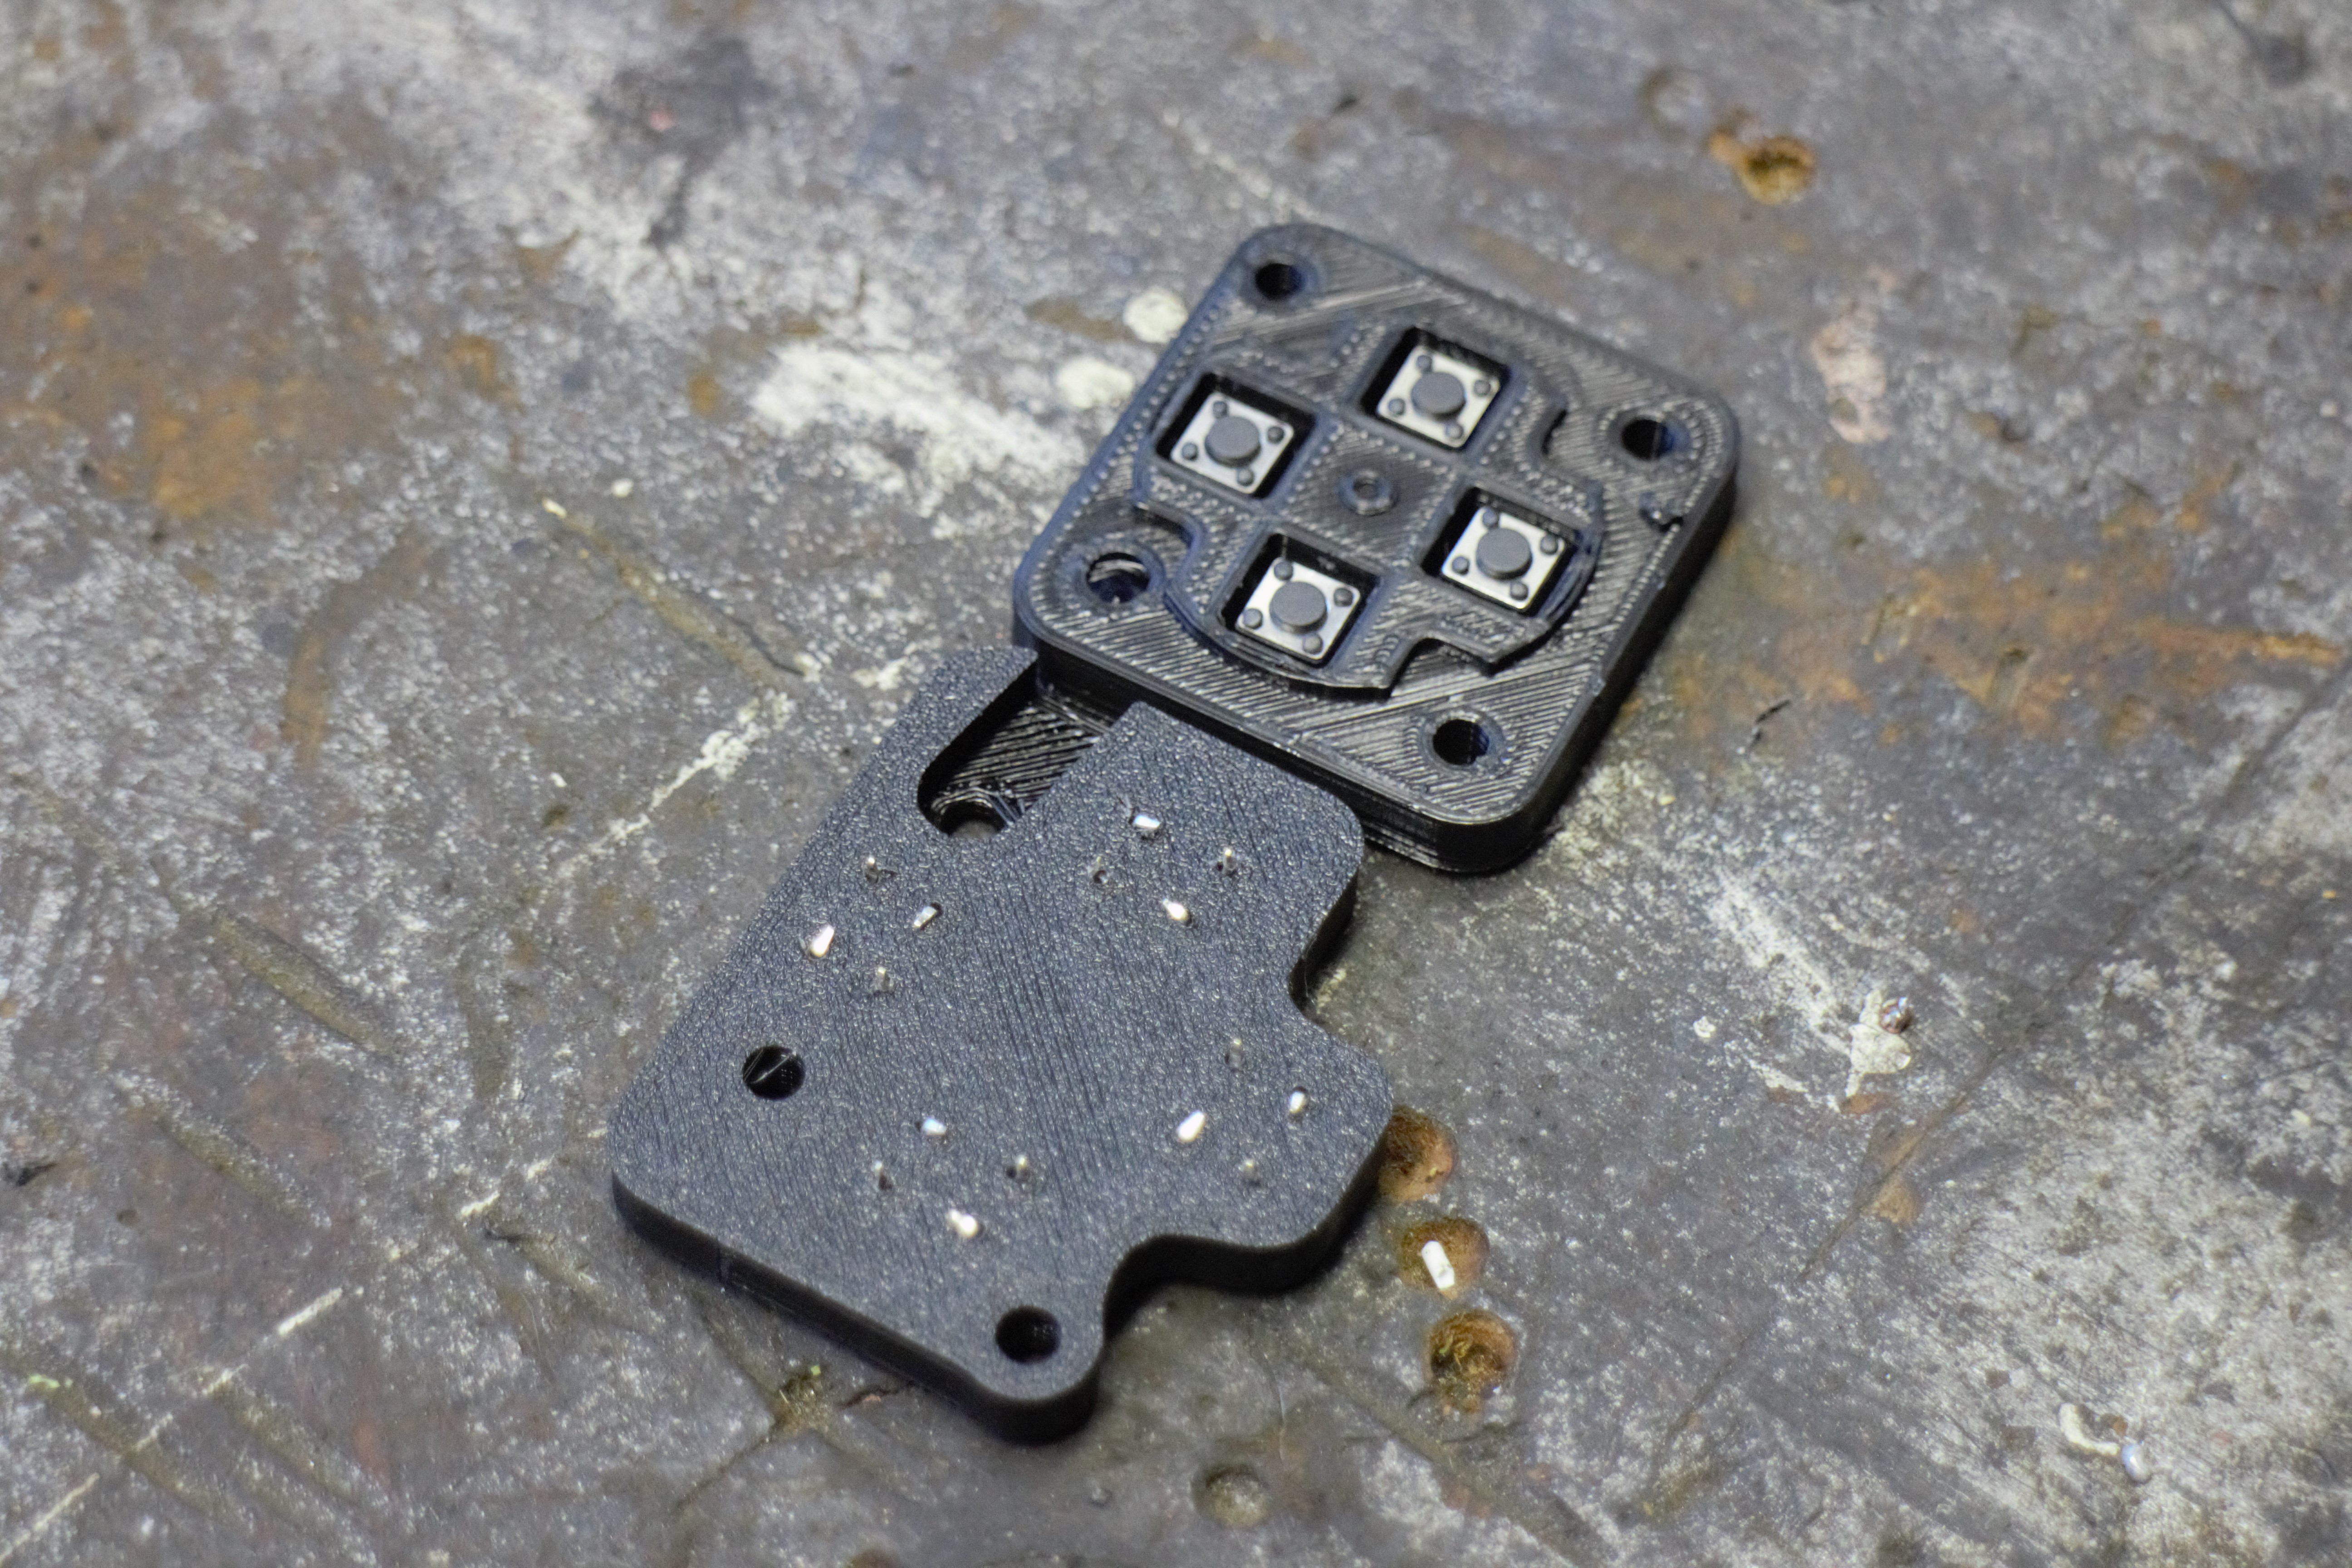
Here's what your mounts should look like.
Analogue Stick Mounts
Align tabs on analogue stick to the side of the mount with the top (side with ID number). Then press anlogue stick in, do this for both left and right.
Then bend down all 4 tabs on the back to secure it in place. Repeat for both analogue stick mounts (ID 1 & 2).
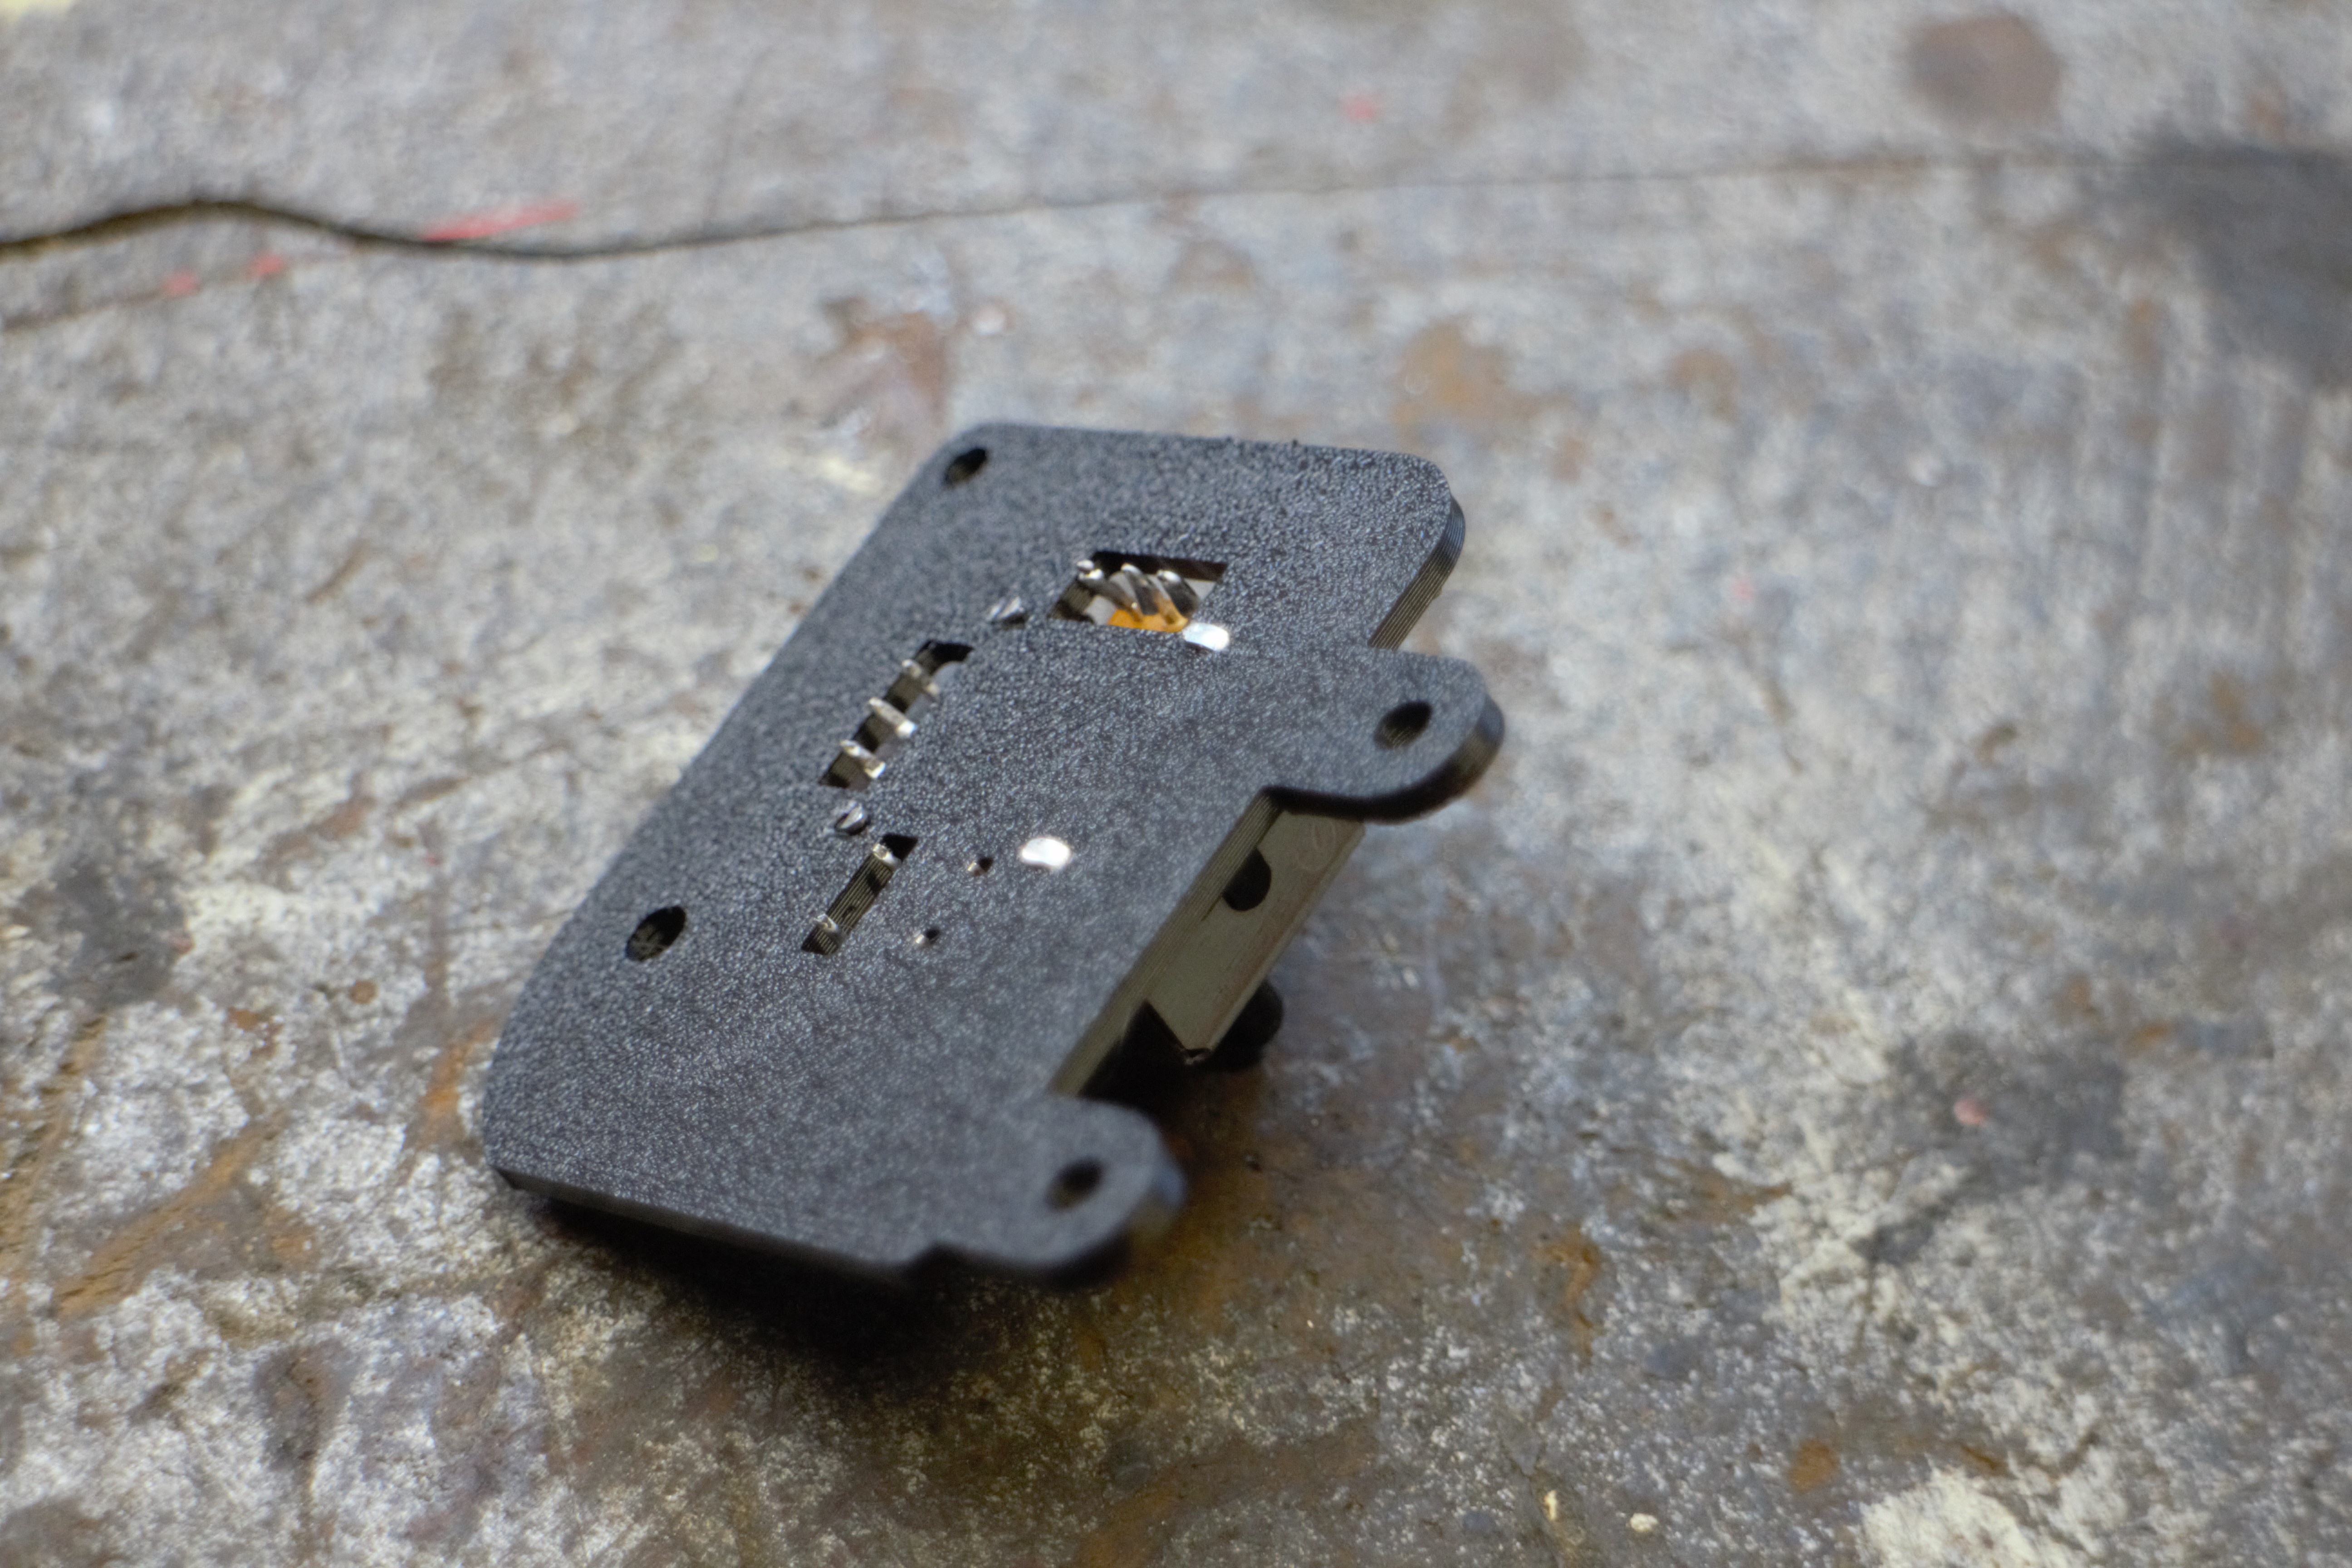
Bumper Switch Mounts
Install tactile switch part: SPST Right-Angle Micro Tactile Switch 1.4mm. By pressing them in and folding tabs on the back. Do this for parts:
- Right Bumper Switch Mount | ID: 5
- Left Bumper Switch Mount | ID: 6
Left Bumper switch Mount with tactile switches installed.
On right bumper mount (ID 5) install the potentiometer, aligning the notch with the hole in the printed part, then tighten the nut on the back. If the nut fouls the tactile switch you can gently bend it out of the way.
Power Button Install
Using SPST Right-Angle Micro Tactile Switch 6mm press it into it's position on the main component mount.
Bend the tabs over.
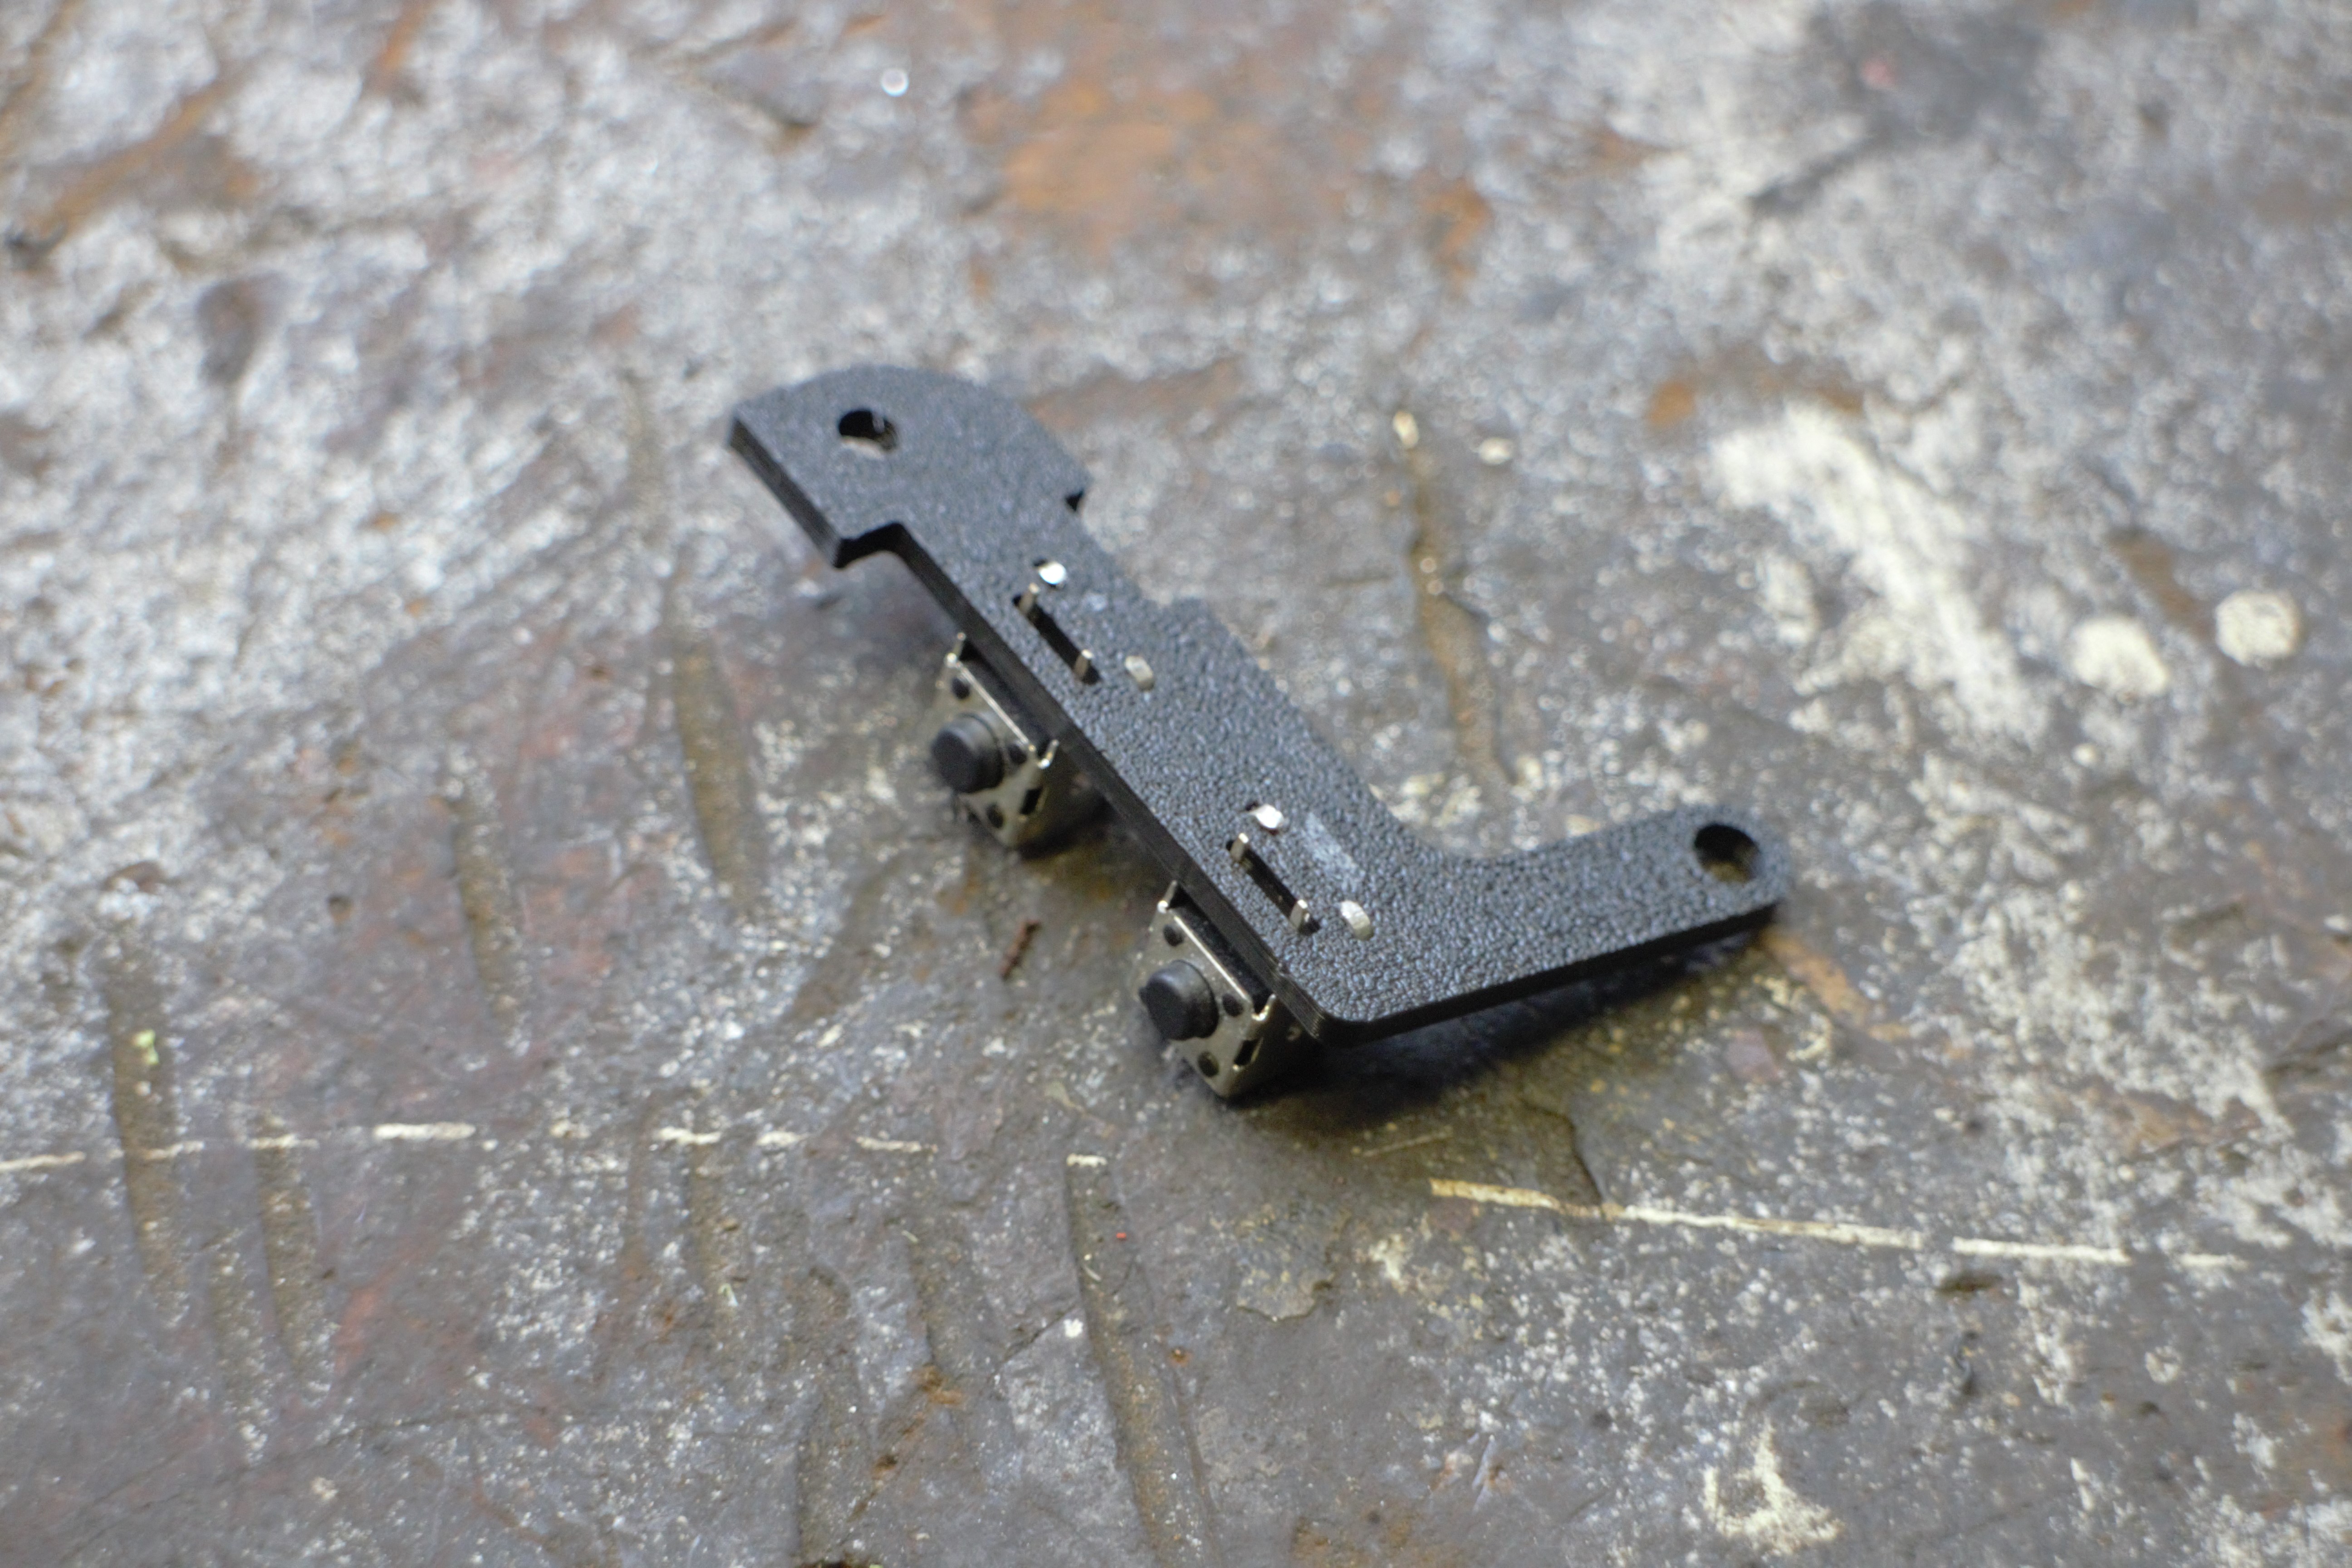
Start & Select Mount
Install SPST Micro Tactile Switch 0.7mm to the start button mount and bend the rear tabs.